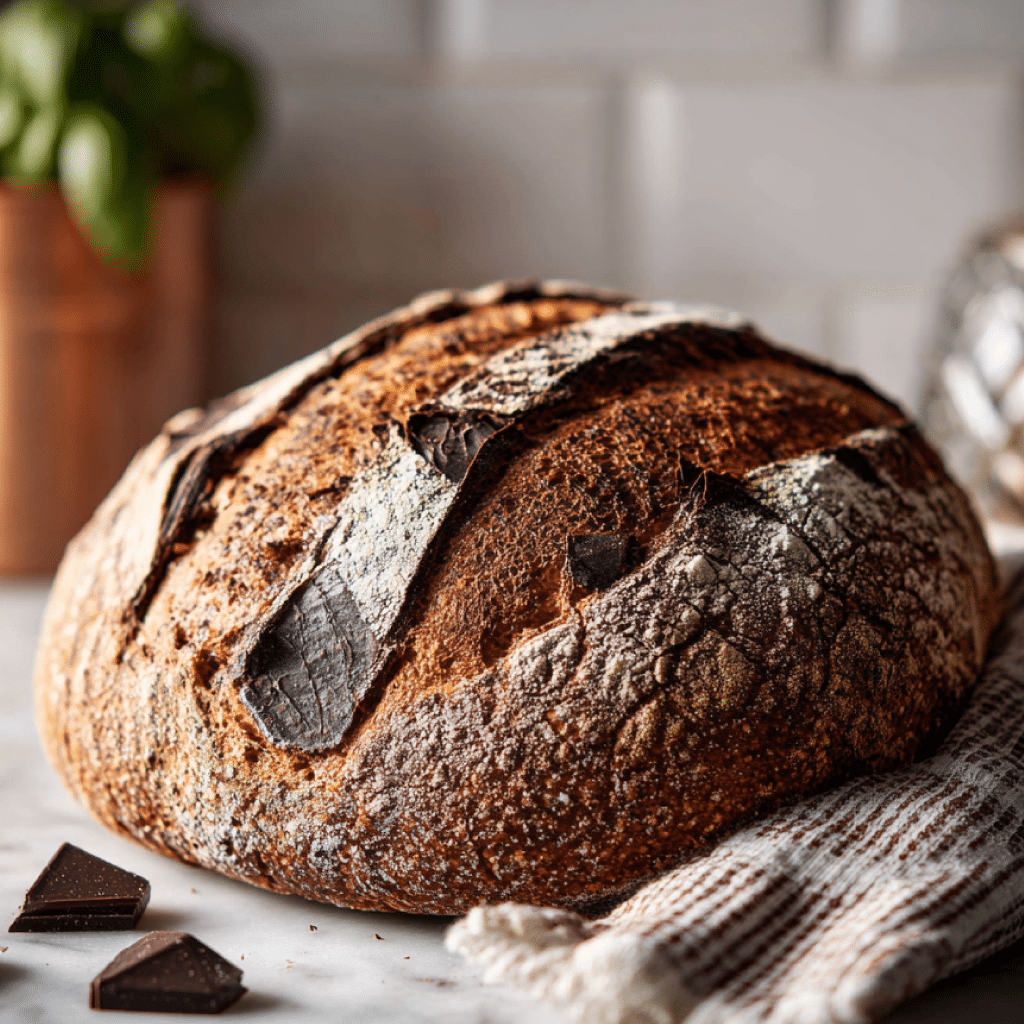
Whip up a batch of these fluffy, buttery sourdough biscuits using your discard for a delicious and simple breakfast.

This recipe is designed for busy mornings when you crave something warm and homemade but don’t have hours to spend in the kitchen. It’s a fantastic way to utilize that active sourdough discard, transforming it into a delightful treat that everyone will love.
These easy sourdough biscuits are perfect for a quick breakfast, brunch, or even a side dish with dinner. They come together with minimal fuss, delivering a tender crumb and a golden-brown exterior that’s simply irresistible.
Table of Contents
- What You’ll Love About This Quick And Easy Recipe
- Everything You Need To Make This Recipe Without Stress
- Time Needed From Start To Finish
- How To Make It Step By Step With Visual Cues
- Easy Variations And Serving Ideas That Fit Real Life
- Common Slip-Ups And How To Avoid Them
- How To Store It And Make It Ahead Without Ruining Texture
Fluffy Sourdough Discard Biscuits
Ingredients
Method
- Preheat your oven to 425 F (220 C). Line a baking sheet with parchment paper or lightly grease it. This prevents sticking and makes cleanup easier.
- In a large mixing bowl, whisk together the all-purpose flour, baking powder, baking soda, salt, and optional sugar until well combined. This ensures even distribution of the leavening agents.
- Add the cold, cubed butter to the dry ingredients. Using a pastry blender, two knives, or your fingertips, cut the butter into the flour mixture until it resembles coarse crumbs with some pea-sized pieces of butter remaining. The cold butter is key for flaky biscuits.
- Pour in the sourdough discard and cold milk. Mix gently with a wooden spoon or your hands just until the dough comes together. Be careful not to overmix, as this can lead to tough biscuits. The dough will be slightly shaggy.
- Turn the dough out onto a lightly floured surface. Gently pat or roll the dough to about 1/2 to 3/4 inch thickness. Use a biscuit cutter (a 2-3 inch diameter works well) or a sharp knife to cut out biscuits. For extra flaky layers, you can fold the dough over itself a couple of times before the final pat-down.
- Place the cut biscuits on the prepared baking sheet, leaving about an inch between them. If desired, brush the tops with a little extra milk or an egg wash for a golden finish.
- Bake for 12-15 minutes, or until the tops are golden brown and the biscuits are cooked through. The exact time may vary slightly depending on your oven.
- Remove the biscuits from the oven and let them cool on the baking sheet for a few minutes before transferring them to a wire rack. Serve warm.
Nutrition
Notes
– Store leftovers covered in the fridge for 3-4 days.
– Freeze for up to 2 months.
– Reheat gently for best texture.
Loved this recipe?
Leave a rating & comment. how it was!What You’ll Love About This Quick And Easy Recipe
This recipe is a game-changer for anyone who keeps a sourdough starter and finds themselves with a surplus of discard. It’s incredibly practical, turning what might otherwise be waste into a delicious breakfast staple. You’ll love how quickly these biscuits come together, making them ideal for those hectic weekday mornings or a relaxed weekend brunch. They’re perfect for families because they’re simple, satisfying, and have that comforting homemade taste without requiring advanced baking skills. Serve them warm with butter, jam, or even a savory topping, and watch them disappear. This recipe works because it leverages the unique tang and tenderness that sourdough discard brings, creating biscuits that are both flavorful and wonderfully light.
Everything You Need To Make This Recipe Without Stress
Gathering your ingredients ahead of time makes the baking process smooth and enjoyable. You’ll find that most of these items are likely already in your pantry or refrigerator, making this a truly convenient recipe.
INGREDIENTS:

- 2 cups all-purpose flour
- 1 tablespoon baking powder
- 1/2 teaspoon baking soda
- 1 teaspoon salt
- 1/2 cup (1 stick) cold unsalted butter, cut into small cubes
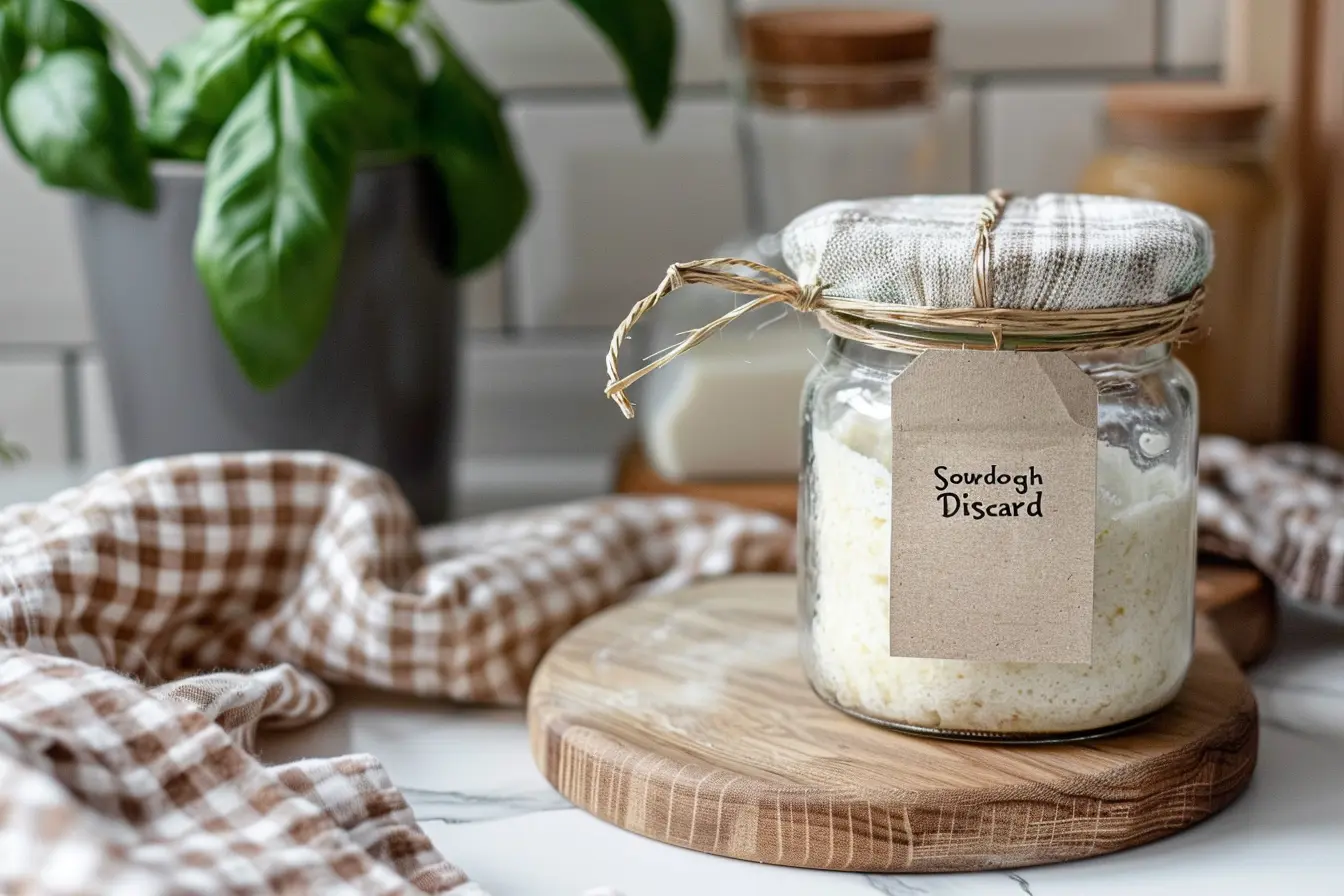
- 1 cup sourdough discard (unfed, at room temperature)
- 1/2 cup cold milk (whole milk or 2% works best)
- Optional: 1 tablespoon sugar (for a slightly sweeter biscuit)
- Optional: Additional milk or an egg wash for brushing tops
For simple substitutions, if you don’t have unsalted butter, salted butter can be used; just reduce the added salt in the recipe by about a quarter teaspoon. Any type of milk can work, but whole milk tends to yield a richer biscuit. If you prefer a dairy-free option, unsweetened almond or soy milk can be used, though the texture might be slightly different. The sourdough discard should be unfed, meaning it hasn’t been fed recently, which is perfect for using up what you might otherwise discard.
Time Needed From Start To Finish
This recipe is designed for speed and efficiency, making it perfect for busy schedules.
- Prep Time: 10-15 minutes
- Cook Time: 12-15 minutes
- Total Time: 22-30 minutes
You can have warm, fresh-baked biscuits on the table in under half an hour, which is fantastic for a homemade breakfast. The quick prep time involves minimal mixing and shaping, and the baking time is short enough to get them done before the morning rush.
How To Make It Step By Step With Visual Cues

Creating these fluffy sourdough biscuits is a straightforward process. Follow these steps for perfect results every time.
- Prepare Your Oven and Baking Sheet: Preheat your oven to 425°F (220°C). Line a baking sheet with parchment paper or lightly grease it. This prevents sticking and makes cleanup easier.
- Combine Dry Ingredients: In a large mixing bowl, whisk together the all-purpose flour, baking powder, baking soda, salt, and optional sugar until well combined. This ensures even distribution of the leavening agents.
- Cut in the Cold Butter: Add the cold, cubed butter to the dry ingredients. Using a pastry blender, two knives, or your fingertips, cut the butter into the flour mixture until it resembles coarse crumbs with some pea-sized pieces of butter remaining. The cold butter is key for flaky biscuits.
- Add Sourdough Discard and Milk: Pour in the sourdough discard and cold milk. Mix gently with a wooden spoon or your hands just until the dough comes together. Be careful not to overmix, as this can lead to tough biscuits. The dough will be slightly shaggy.
- Shape the Biscuits: Turn the dough out onto a lightly floured surface. Gently pat or roll the dough to about 1/2 to 3/4 inch thickness. Use a biscuit cutter (a 2-3 inch diameter works well) or a sharp knife to cut out biscuits. For extra flaky layers, you can fold the dough over itself a couple of times before the final pat-down.
- Arrange and Bake: Place the cut biscuits on the prepared baking sheet, leaving about an inch between them. If desired, brush the tops with a little extra milk or an egg wash for a golden finish.
- Bake Until Golden: Bake for 12-15 minutes, or until the tops are golden brown and the biscuits are cooked through. The exact time may vary slightly depending on your oven.
- Cool and Serve: Remove the biscuits from the oven and let them cool on the baking sheet for a few minutes before transferring them to a wire rack. Serve warm.
Easy Variations And Serving Ideas That Fit Real Life
These sourdough biscuits are incredibly versatile and can be adapted to suit various tastes and occasions. For a savory twist, try adding 1/2 cup of shredded cheddar cheese and 1 tablespoon of chopped chives to the dry ingredients. This makes them perfect alongside a bowl of chili or soup. You can also incorporate 1/2 teaspoon of garlic powder or onion powder for an extra layer of flavor.
For those with a sweet tooth, a sprinkle of cinnamon and a tablespoon of brown sugar can be added to the dough for a delightful breakfast pastry. After baking, a simple glaze made from powdered sugar and a splash of milk or lemon juice would be a wonderful addition.
These biscuits are fantastic for a family breakfast alongside scrambled eggs, bacon, and fresh fruit. For a brunch spread, consider serving them with an assortment of jams, honey, and a pat of softened butter. They also make an excellent base for a breakfast sandwich with sausage, egg, and cheese. For a quick snack, simply enjoy them warm with your favorite spread. Kids often love them plain or with a dollop of fruit jam.
Common Slip-Ups And How To Avoid Them
Even simple recipes can have common pitfalls. Being aware of these can help you achieve perfect sourdough biscuits every time.
One frequent mistake is overmixing the dough. When you overmix, you develop the gluten in the flour too much, resulting in tough, dense biscuits instead of light and flaky ones. To avoid this, mix the wet and dry ingredients just until they come together and no dry flour streaks remain. A slightly shaggy dough is perfectly fine.
Another common issue is using warm butter or milk. The key to flaky biscuits is keeping the butter very cold. As the cold butter melts in the hot oven, it creates pockets of steam, which separate the layers of dough, leading to that desirable flakiness. Always use cold butter cut into small pieces and cold milk. If your kitchen is warm, you can even pop the cut butter back into the fridge for a few minutes before adding it to the flour.
Rolling the dough too thin or too thick can also affect the outcome. If the dough is too thin, the biscuits will be small and crispy rather than tall and fluffy. If it’s too thick, they might not cook through evenly. Aim for a thickness of about 1/2 to 3/4 inch.
Finally, twisting the biscuit cutter when cutting out shapes can seal the edges of the biscuits, preventing them from rising properly. Instead, press the cutter straight down and lift it straight up. If you don’t have a biscuit cutter, a sharp knife can be used to cut the dough into squares or triangles, which works just as well.
How To Store It And Make It Ahead Without Ruining Texture
These sourdough biscuits are best enjoyed fresh and warm from the oven, but you can certainly store them or prepare them ahead of time.
Storing Baked Biscuits: Once baked and completely cooled, store leftover biscuits in an airtight container at room temperature for up to 2-3 days. For longer storage, you can freeze them. Wrap individual biscuits tightly in plastic wrap, then place them in a freezer-safe bag or container. They will keep well in the freezer for up to 1-2 months.
Reheating Biscuits: To reheat frozen biscuits, you can warm them directly from the freezer in a preheated oven at 300°F (150°C) for about 15-20 minutes, or until heated through. Thawed biscuits can be reheated in a microwave for 15-30 seconds, or in a toaster oven until warm and slightly crisp. Reheating in an oven or toaster oven will help restore some of their original texture.
Making Ahead: You can prepare the biscuit dough ahead of time. After cutting out the biscuits, place them on a parchment-lined baking sheet and freeze them until solid (about 30-60 minutes). Once frozen, transfer them to a freezer-safe bag. When you’re ready to bake, you

FAQs
- Can I make these ahead? Yes—prep ahead, refrigerate, then serve when ready.
- How long do leftovers last? Store covered in the fridge for 3–4 days for best texture.
- Can I adjust sweetness? Yes—add more or less sweetener to taste.
- Can I change the fruit? Yes—swap strawberries for blueberries, raspberries, or sliced banana.