Making your own sourdough sandwich bread might sound intimidating, but it doesn’t have to be! This recipe is specifically designed for beginners, focusing on simplicity and using sourdough discard to create a wonderfully soft and flavorful loaf. It’s the perfect introduction to the world of sourdough baking without the complexity of maintaining an active starter.

Get ready to enjoy homemade bread that’s ideal for everything from your morning toast to hearty sandwiches. We’ll walk you through each step, ensuring a delicious outcome even if you’ve never baked bread before.
Easy Sourdough Discard Sandwich Bread
Ingredients
Method
- Activate the Yeast: In a large mixing bowl, combine the warm water, granulated sugar, and active dry yeast. Stir gently and let it sit for about 5-10 minutes until the mixture becomes foamy. This foam indicates your yeast is active and ready to work. If it doesn’t foam, your water might have been too hot or too cold, or your yeast might be old, and you’ll need to start again with fresh yeast.
- Combine Wet Ingredients: Once the yeast is active, add the sourdough discard, salt, and 3 tablespoons of olive oil to the bowl. Stir everything together until well combined. The mixture will look a bit shaggy and wet at this stage.
- Add Flour and Mix the Dough: Gradually add the all-purpose flour, one cup at a time, mixing with a wooden spoon or a sturdy spatula until a shaggy dough forms. Once it becomes too stiff to stir, turn the dough out onto a lightly floured surface.
- Knead the Dough: Knead the dough for 5-7 minutes. At first, it might be sticky, but as you knead, it will become smoother and more elastic. You’ll know it’s ready when it springs back slightly when poked and forms a relatively smooth ball. Avoid adding too much extra flour during kneading; just enough to prevent sticking.
- First Rise (Proofing): Lightly grease a clean large bowl with olive oil. Place the dough ball in the bowl, turning it once to coat all sides. Cover the bowl with plastic wrap or a clean kitchen towel and let it rise in a warm place for 60-90 minutes, or until it has nearly doubled in size. The dough should look puffy and soft.
- Shape and Prepare for Baking: Gently punch down the risen dough to release the air. On a lightly floured surface, shape the dough into a loaf. The easiest way is to flatten it into a rectangle, then roll it up tightly from one of the longer sides, pinching the seam closed. Place the shaped loaf seam-side down into a greased 9×5-inch loaf pan.
- Final Rise (Optional, but Recommended): Cover the loaf pan loosely with plastic wrap or a kitchen towel and let it rise for another 20-30 minutes while your oven preheats. This short second rise helps ensure a light, airy texture.
- Bake the Bread: Preheat your oven to 375 F (190 C). Once preheated, place the loaf pan in the oven and bake for 30-35 minutes, or until the crust is golden brown and the internal temperature reaches 200-210 F (93-99 C) when checked with an instant-read thermometer. If the top is browning too quickly, you can loosely tent it with aluminum foil.
- Cool Before Slicing: Once baked, remove the bread from the oven and immediately transfer it from the loaf pan to a wire rack. Let it cool completely for at least 30 minutes before slicing. Slicing too early can result in a gummy texture.
Nutrition
Notes
– Store leftovers covered in the fridge for 3-4 days.
– Freeze for up to 2 months.
– Reheat gently for best texture.
Loved this recipe?
Leave a rating & comment. how it was!What You’ll Love About This Quick And Easy Recipe
This recipe for easy sourdough discard sandwich bread is a game-changer for anyone looking to dip their toes into sourdough baking without a huge time commitment or advanced skills. It works beautifully because it leverages the flavor and leavening power of sourdough discard, which means you don’t need to worry about feeding a starter or waiting for multiple long proofs. This recipe is perfect for busy parents, new bakers, or anyone who wants the satisfaction of homemade bread with minimal fuss. You can serve this soft, slightly tangy loaf for breakfast with jam, as the base for a delicious grilled cheese, or simply toasted with butter. It’s a versatile bread that quickly becomes a family favorite, making everyday meals feel a little more special.
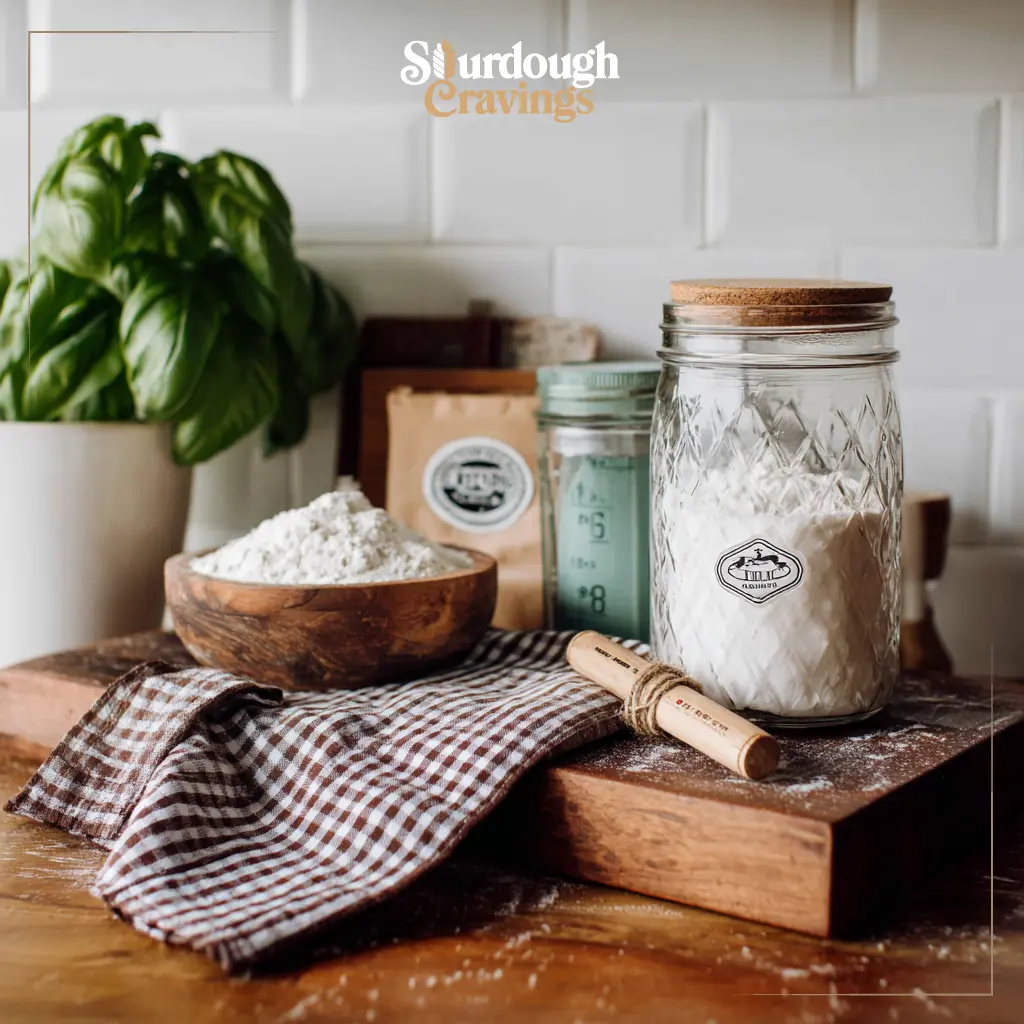
Everything You Need To Make This Recipe Without Stress
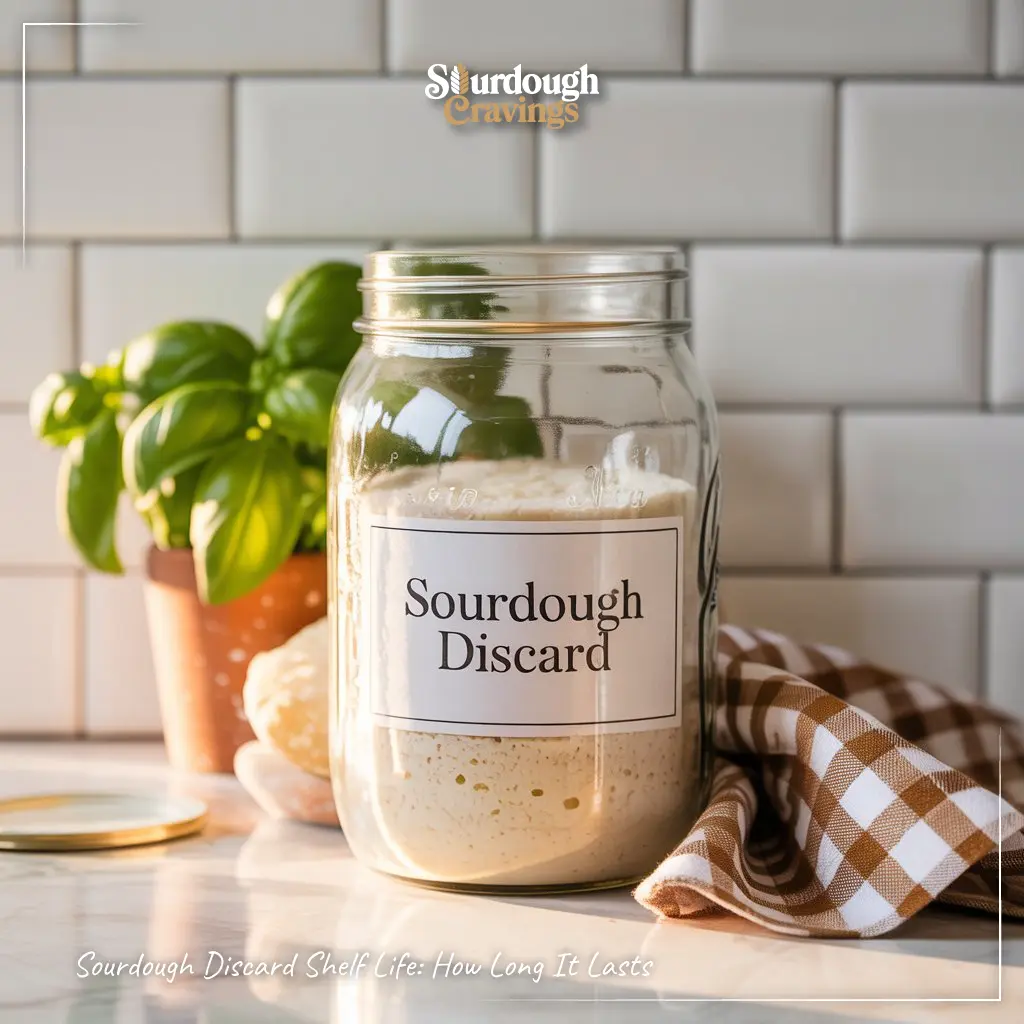
Gathering your ingredients before you start baking makes the whole process smoother and more enjoyable. This recipe uses common pantry staples, so you likely have most of what you need already. The key ingredient, sourdough discard, is simply the unfed portion of your sourdough starter that you would typically remove before feeding. If you don’t have a starter yet, you can often get a small amount of discard from a friend or a local bakery to get started.
INGREDIENTS:

- 1 cup sourdough discard (100% hydration, unfed)
- 1 cup warm water (105-115°F)
- 2 tablespoons granulated sugar
- 1 teaspoon active dry yeast
- 1 teaspoon salt
- 3 tablespoons olive oil, plus more for greasing
- 3 to 3 1/2 cups all-purpose flour
When it comes to substitutions, feel free to use bread flour instead of all-purpose flour for a slightly chewier texture, though all-purpose works perfectly well for a soft sandwich loaf. If you prefer, you can swap the granulated sugar for honey or maple syrup; just be aware that liquid sweeteners might slightly alter the dough’s consistency, so you might need a tiny bit more flour. For the olive oil, any neutral-flavored oil like vegetable or canola oil will also work if that’s what you have on hand.
Time Needed From Start To Finish
This recipe is designed to be relatively quick for a homemade bread, especially considering it uses sourdough discard. The total time from mixing to a freshly baked loaf is quite manageable.
- Prep Time: 15 minutes
- Proofing Time: 60-90 minutes (one rise)
- Bake Time: 30-35 minutes
- Cooling Time: 30 minutes (minimum, for best slicing)
- Total Active Time: Approximately 15 minutes
- Total Overall Time: Approximately 2 hours 30 minutes to 3 hours
How To Make It Step By Step With Visual Cues

Follow these simple steps to create your delicious sourdough discard sandwich bread. Pay attention to the cues, and you’ll have a perfect loaf in no time.
- Activate the Yeast: In a large mixing bowl, combine the warm water, granulated sugar, and active dry yeast. Stir gently and let it sit for about 5-10 minutes until the mixture becomes foamy. This foam indicates your yeast is active and ready to work. If it doesn’t foam, your water might have been too hot or too cold, or your yeast might be old, and you’ll need to start again with fresh yeast.
- Combine Wet Ingredients: Once the yeast is active, add the sourdough discard, salt, and 3 tablespoons of olive oil to the bowl. Stir everything together until well combined. The mixture will look a bit shaggy and wet at this stage.
- Add Flour and Mix the Dough: Gradually add the all-purpose flour, one cup at a time, mixing with a wooden spoon or a sturdy spatula until a shaggy dough forms. Once it becomes too stiff to stir, turn the dough out onto a lightly floured surface.
- Knead the Dough: Knead the dough for 5-7 minutes. At first, it might be sticky, but as you knead, it will become smoother and more elastic. You’ll know it’s ready when it springs back slightly when poked and forms a relatively smooth ball. Avoid adding too much extra flour during kneading; just enough to prevent sticking.
- First Rise (Proofing): Lightly grease a clean large bowl with olive oil. Place the dough ball in the bowl, turning it once to coat all sides. Cover the bowl with plastic wrap or a clean kitchen towel and let it rise in a warm place for 60-90 minutes, or until it has nearly doubled in size. The dough should look puffy and soft.
- Shape and Prepare for Baking: Gently punch down the risen dough to release the air. On a lightly floured surface, shape the dough into a loaf. The easiest way is to flatten it into a rectangle, then roll it up tightly from one of the longer sides, pinching the seam closed. Place the shaped loaf seam-side down into a greased 9×5-inch loaf pan.
- Final Rise (Optional, but Recommended): Cover the loaf pan loosely with plastic wrap or a kitchen towel and let it rise for another 20-30 minutes while your oven preheats. This short second rise helps ensure a light, airy texture.
- Bake the Bread: Preheat your oven to 375°F (190°C). Once preheated, place the loaf pan in the oven and bake for 30-35 minutes, or until the crust is golden brown and the internal temperature reaches 200-210°F (93-99°C) when checked with an instant-read thermometer. If the top is browning too quickly, you can loosely tent it with aluminum foil.
- Cool Before Slicing: Once baked, remove the bread from the oven and immediately transfer it from the loaf pan to a wire rack. Let it cool completely for at least 30 minutes before slicing. Slicing too early can result in a gummy texture.
Easy Variations And Serving Ideas That Fit Real Life
This easy sourdough sandwich bread is fantastic on its own, but it’s also a wonderful canvas for simple variations and serving ideas that fit into any family’s busy schedule. For a kid-friendly twist, try adding a tablespoon of dried milk powder to the dough for an even softer crumb, or sprinkle sesame seeds or rolled oats on top before baking for added texture and visual appeal. You can also mix in a handful of shredded cheddar cheese and a pinch of garlic powder for a savory loaf perfect for grilled cheese sandwiches.
When it comes to serving, this bread is incredibly versatile. It makes the ultimate breakfast toast, especially when slathered with butter and your favorite jam or a dollop of cream cheese. For lunch, it’s perfect for classic deli sandwiches, peanut butter and jelly, or even a simple ham and cheese. Cut into thick slices, it’s also wonderful alongside a hearty soup or stew for a comforting dinner. If you’re hosting a casual gathering, slice it up and serve with a simple olive oil dip or a spread of hummus.
Common Slip-Ups And How To Avoid Them
Even with a beginner-friendly recipe, a few common mistakes can happen. Knowing what to watch out for can help you achieve perfect results every time.
- Not Activating the Yeast Properly: If your yeast mixture doesn’t get foamy after 5-10 minutes, it means the yeast isn’t active. This could be due to water that’s too hot (which kills the yeast) or too cold (which won’t activate it), or expired yeast. Always check the temperature of your water with a thermometer (105-115°F is ideal) and ensure your yeast is fresh.
- Adding Too Much Flour: It’s tempting to keep adding flour if your dough feels sticky, but too much flour will result in a dense, dry loaf. Add flour gradually until the dough is manageable but still slightly tacky. Resist the urge to add more once it starts to come together during kneading.
- Not Kneading Enough: Under-kneaded dough won’t develop enough gluten, leading to a crumbly texture. Knead for the full 5-7 minutes until the dough is smooth and elastic. You should be able to stretch a small piece of dough thin enough to see light through it without it tearing (the “windowpane test”).
- Improper Proofing: If your dough doesn’t rise enough, your bread will be dense. If it over-proofs, it might collapse in the oven. Look for the dough to nearly double in size and feel puffy. A good test is

FAQs
- Can I make these ahead? Yes—prep ahead, refrigerate, then serve when ready.
- How long do leftovers last? Store covered in the fridge for 3–4 days for best texture.
- Can I adjust sweetness? Yes—add more or less sweetener to taste.
- Can I change the fruit? Yes—swap strawberries for blueberries, raspberries, or sliced banana.